How to Add Disc IDs: Difference between revisions
((Imported from MoinMoin)) |
((Imported from MoinMoin)) |
||
| Line 10: | Line 10: | ||
[[Image:discid1.png]] |
[[Image:discid1.png]] |
||
---- |
|||
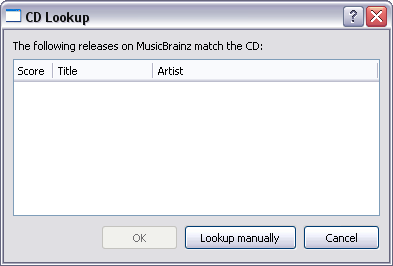
If no release that has your DiscID attached to it is found, the following window is shown: |
If no release that has your DiscID attached to it is found, the following window is shown: |
||
| Line 15: | Line 19: | ||
[[Image:discid2.png]] |
[[Image:discid2.png]] |
||
---- |
|||
| ⚫ | |||
| ⚫ | |||
[[Image:discid3.png]] |
[[Image:discid3.png]] |
||
---- |
|||
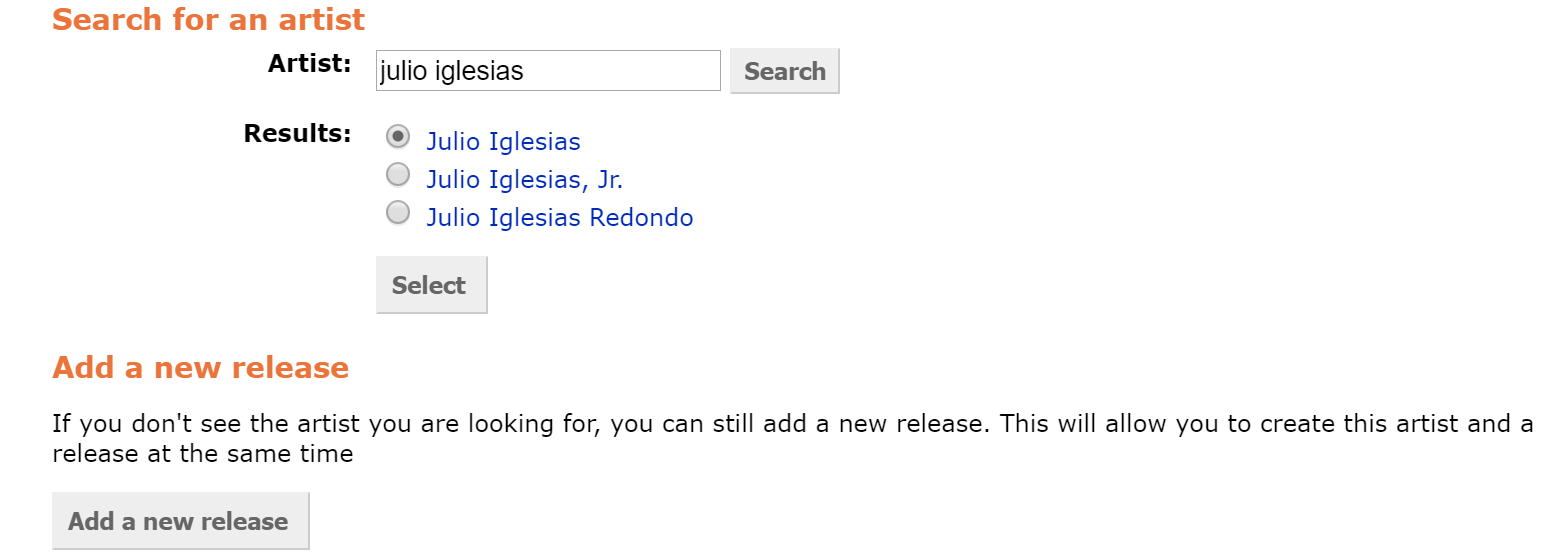
You can either search by artist name or by release name. |
|||
[[Image:discid4.png]] |
[[Image:discid4.png]] |
||
---- |
|||
You only see the next screen if you searched by artist name. You will be asked to choose the correct artist or search for another one. If you searched by release name, you won't see the screen below. |
You only see the next screen if you searched by artist name. You will be asked to choose the correct artist or search for another one. If you searched by release name, you won't see the screen below. |
||
Revision as of 12:46, 20 December 2007
How to Add a DiscID Using Picard
Let's say there is a release in the database which you own but does not have a DiscID attached to it. DiscIDs are used when users use the taggers to search for CDs they own. Also, if you add a DiscID to a release you are adding, it helps to show you know this information is correct, and will add track times to the songs.
Note: the screenshots below are based on Picard 0.9.0.
--- Note: Please do not add DiscIDs from homeburnt CDs. ---
First, put the disc into your disc drive, and start up Picard. Next, click the "CD Lookup" button.
If no release that has your DiscID attached to it is found, the following window is shown:
Click on the "Lookup manually" button. This will start up your favorite browser and take you to the "Lookup returned no match" page. There, you can either search by artist name or by release name.
You only see the next screen if you searched by artist name. You will be asked to choose the correct artist or search for another one. If you searched by release name, you won't see the screen below.
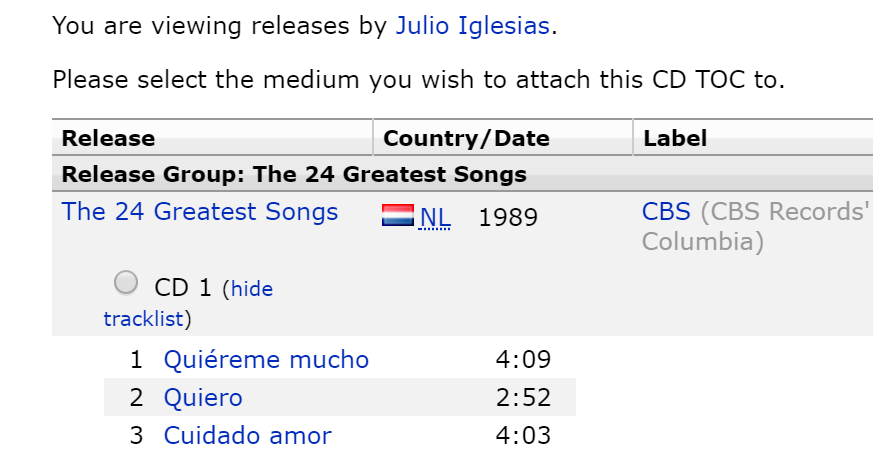
Check the radio button for the correct artist and you will be brought to the "Select Album" page, or you will be there already if you are adding a discID to a various artists release. Simply click the Submit CD button, and you are finished!
DiscIDs adding track times.
When a DiscID is added track times may not show up immediately but will populate within 24 hours (usually sooner). However if there is some existing track times that don't match the DiscID, the times may not be added.
- If one CD TOC exists for a CD, it uses that one.
- If more than one exists, it calculates the average length of all the TOCs for a given CD and picks the closest one to the average.
- If no TOCs exists close enough to the average it does nothing.


